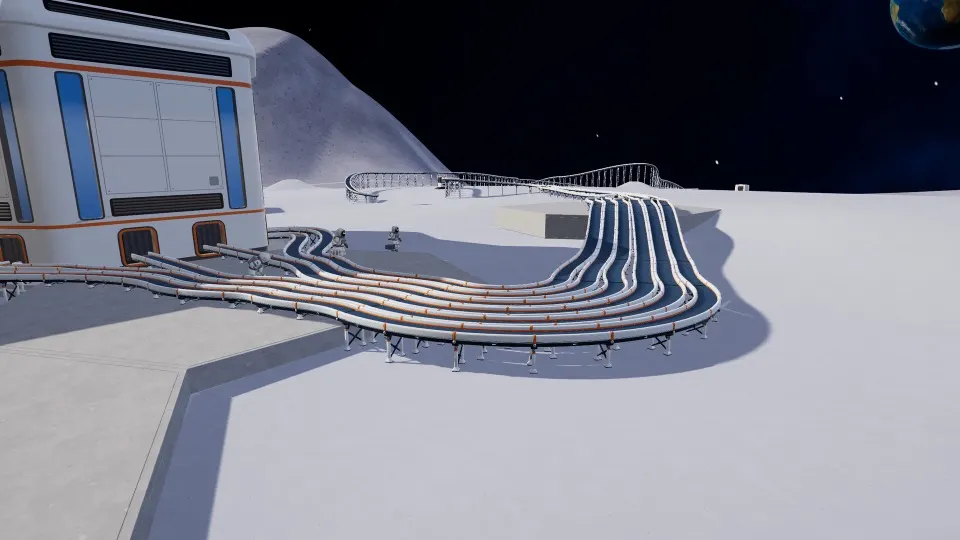
Step 1: auto sell with a Packager and a belt
- Buy the Building Tool ($50) — it opens the building menu (Logistics, production, power).
- Place a Packager ($100, Logistics tab) near where you’re cleaning.
- Lay conveyor ($0.50 per metre, up to 30 m per piece) from the Packager into the depot’s outside intake.
- Tip your dust into the Packager with E. Capsules ride the belt and are paid on arrival (since 1.0.3) — you stop walking back to the depot.
Upgrade tip: the Auto Packer upgrade packs a capsule at your feet whenever your tool is full (upgrade list).
Step 2: process dust for more money
| Machine | Price | Power | Input → output | Sells for |
|---|---|---|---|---|
| Pressure Chamber | $500 | 10 kW | Dust → Moon Sand, about 5 kg every 12 s | 3× raw dust |
| Stone Press | $1,000 | 18 kW | Dust + Moon Sand → Moonstone, about 2 kg every 6 s ⚠️ | 7× raw dust |
Prices, power and the 3× are confirmed by two guides; the Stone Press recipe and output name are reported differently (some players call it Moon Rock or stone) ⚠️. Its input has two sides — guides say stone/sand on one side, dust on the other. Since 1.0.3, big machines can stand across several square foundations.
Guides’ advice: don’t buy the Pressure Chamber until your dust supply and power are steady, and sell Moon Sand straight to the depot before adding a Stone Press.
Step 3: power — and why everything stops at night
| Power | Price | Output |
|---|---|---|
| Solar Post | $75 ⚠️ | 3 kW |
| Solar Twin (M) | not confirmed | 7.5 kW |
Solar makes nothing at night. Machines run on their battery until it’s empty, then stop. Factory guides suggest about two large solar panels per machine so batteries fill during the day. More: day and night.
Step 4: robots
| Robot | Price | Cleans |
|---|---|---|
| Robot Vacuum Mk I | $250 | 19 hexes (2 rings) around its dock ⚠️ |
| Robot Vacuum Mk II | $500 | 37 hexes (3 rings) ⚠️ |
| J.O.O.N.A.S. | $20,000 | Whole sectors — finds the nearest dirty hexes itself |
| Capsule Catcher | $1,500 | Receives J.O.O.N.A.S. capsules (holds 100 kg since 1.0.4) and outputs them to a belt |
Robot Vacuum docks turn their dust into capsules — point the dock’s output toward your belt. Opinions differ: one Steam guide says skip robot vacuums and save for J.O.O.N.A.S.; another says they’re fine if their areas don’t overlap.
J.O.O.N.A.S. after 1.0.4: cleans one hex at a time from the outside in, about 2× faster, steers round buildings, keeps working with no players nearby, and launches capsules to the nearest Capsule Catcher without going home. The gauge flashes red when it’s full; look at it for an info panel and its current sector. All robots now show on the Moon map.
Factory layouts and ratios
Work out your own numbers with the factory ratio calculator — the balanced ratio is 2 Pressure Chambers : 5 Stone Presses. Players’ posted layouts:
- Belt speed is the main bottleneck (several guides and threads agree). Use splitters to feed several machines in parallel and mergers to bring them back; since 1.0.4 mergers alternate between inputs.
- Ratios posted: 1 Catcher : 2 Pressure Chambers : 5 Stone Presses; or a “full” factory of 2 Catchers, 4 Chambers and 8 Presses; 3–5 J.O.O.N.A.S. per Catcher.
- One base takes up to 12 belts ⚠️; a garage outputs 2 belts ⚠️.
- You can’t build foundations where a J.O.O.N.A.S. is standing, and belts can’t go straight up ⚠️.
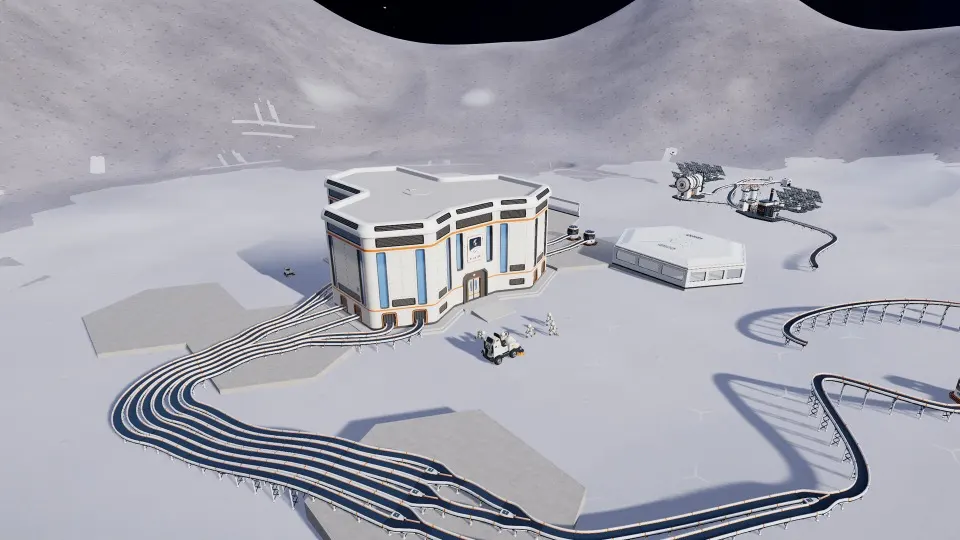
Build a small closed loop of belt and let a capsule go round it for the hidden achievement It’ll Get There Eventually — all achievements.